Important Note: Please take a minute to read the Tutorial license terms.
Basic about creating sculpties with blender
 |
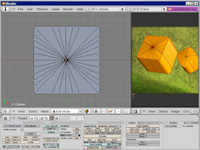
Sculpted Prims Part I ( 10-March-2010 ) abstract:The tutorial shows in easy steps, how to create an object with blender and export it as a sculptie map (UV-texture) for usage in OpenSim or any compatible online world. We assume, that you have basic knowledge about the blender user interface. But we still provide enough background information, so that even blender newbies can follow the process. The tutorial covers any recent blender-version up to the currently recommended release 2.49b. Note, that we not yet support blender release 2.5! read more … |
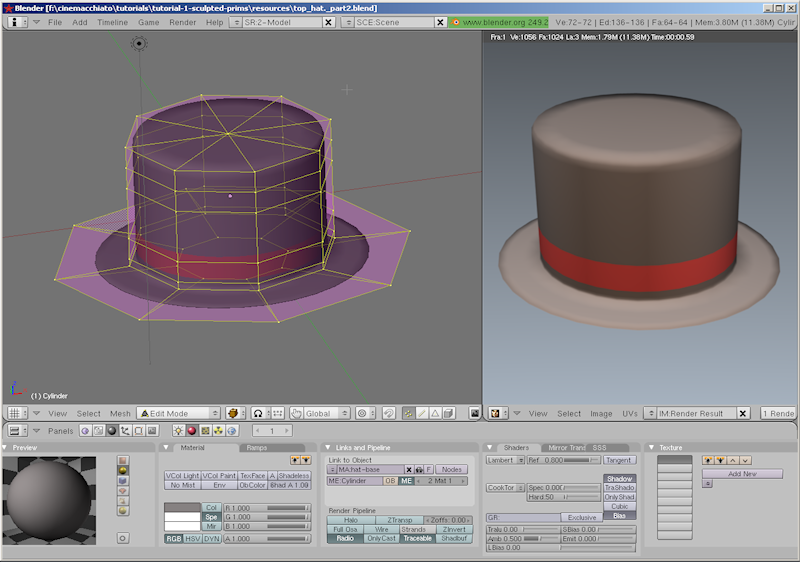 |
Sculpted Prims Part II ( 10-March-2010 )abstract:The tutorial shows in easy steps, how to apply the crease-function to your model and how to create a very simple texture by using multiple materials. We assume, that you have basic knowledge about the blender user interface. But we still provide enough background information, so that even blender newbies can follow the process. The tutorial covers any recent blender-version up to the currently recommended release 2.49b and Jass2. read more … |
 |
Sculpted Prims Part III ( 2-April-2010 )abstract:The tutorial gives a more in depth introduction to the most important modelling tools in blender and shows some nice tricks for the every day usage of this tool. One highlight is the description of the primstar multi-sculptie export tool and the corresponding Multi-sculptie-Generator in your online world. We assume, that you have seen the preceding tutorial parts I and II. But we still provide enough background information, so that even blender newbies should be able to follow the process. The tutorial covers any recent blender-version up to the currently recommended release 2.49b and Jass2. read more … |
 |
Sculpted Prims Part IV ( 08-July-2010 )abstract:The tutorial gives an insight into the texturing tools of blender. We show the secrets of ambient occlusion, how to bake highlights, How to set up the blender light system, how to use the node editor and how to create and apply bump maps. The tutorial covers any recent blender-version up to the currently recommended release 2.49b and Jass2. read more … |
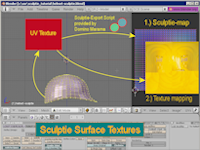 |
Surface Textures for Sculpties with Blender ( 30-June-2008 )abstract:Welcome to our secnd blender tutorial. We will now create a surface texture for a sculpted prim helmet. If you want to get more basic informations about how we created this helmet, please go and fetch the video about “creating sculpted prims with blender” . Then come back here. And don’t miss the new companion video “Texturizing sculpties with multiple images” which shows a blender only solution ( our preferred method) read more … |
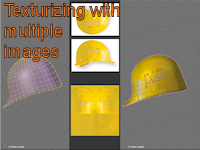 |
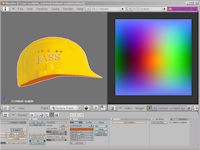
Texturizing sculpties with multiple images ( 01-September-2008 )abstract:This video tutorial shows a method to create textures out of multiple images for sculpted prims in your online world. We use blender-2.47 for this demonstration. No further software is needed here. Although this tutorial is self contained, you may also check our first texturizing tutorial, which may help for better understanding. read more … |
| We still provide the old tutorials for your convenience: | |
 |
Sculpted Prims with Blender ( 27-June-2008 ) abstract:The tutorial shows in easy steps, how to create an object with blender and export it as a sculptie map (uv texture) for usage in your online world. We assume, that you have basic knowledge about the blender user interface. But we still provide enough background information, so that even blender newbies can follow the process read more … |
Basic tutorials about blender
 |
Blender installation guide ( 07-December-2009 ) abstract:The tutorial shows how to install blender. It uncovers the secrets of the blender console and it explains how to verify that blender has been installed correctly. read more …
|
 |
Basic customization guide ( 07-December-2009 ) abstract:The tutorial shows how you can customize blender to use your personal scripts location folder. This tutorial is HD-enabled. read more …
|
 |
The blender primer( 30-December-2009 )abstract: This tutorial gives an introduction into the usage of the blender interface. It covers the most basic functions for creating and modifying mesh objects. The tutorial mainly adresses people, who are totally new to 3D content creation tools in general and blender in particular. After you have studied the tutorial you should be able to follow our subsequent tutorials about using blender for creation of sculpted prims. read more…
|
General knowledge for Sculpty creation
 |
Precise Sculpties: “Level Of Detail” ( 4-June-2008 ) abstract:We show you, how you can use blender to create sculpted prims with high precision. This tutorial will cover the basics of LOD (Level of detail) and show you how to avoid the most common pitfall in sculptie creation. We used blender 2.46 for all demonstration sequences read more … |
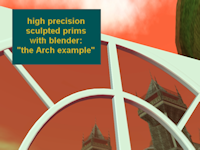 |
Precise Sculpties: “The Arch Example” ( 30-June-2008 )abstract:We show you, how you can use blender to create sculpted prims with high precision. This tutorial will show you some techniques for building high precision sculpted prims. We used blender 2.46 for all demonstration sequences. As an example we have choosen the construction of a sculpted window frame for a casino window front read more … |
Blender knowledge for sculpty creation
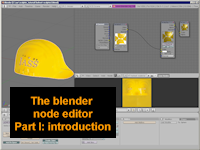 |
The blender node editor (Part I: Introduction) ( 09-July-2008 )abstract:We introduce the basic functionality of the blender node editor. We use a previously created sculptie object as demonstration example and show, how texturizing can be setup in an easy and reproducible way. We will use blender 2.46 for our demonstration read more … |
 |
Images with Alpha-channel ( 2-June-2009 ) abstract: The tutorial describes how you can enable image processing with alpha-channels in blender. In addition to that, we also show, how you can apply your own alpha-mask to your sculpt-map for protection and for labeling your work. Note that the first part of the tutorial also applies to the Domino Design scripts, while the secnd part refers to the JASS-distribution only. read more … |
 |
Sculpted Prims for the blender purist ( 14-July-2008 ) abstract: The tutorial is a 6 minutes life demonstration, how to create a whine glass sculptie with blender, from scratch and without any(!) help of scripts. I only use the blender internal functions and show a very easy going way. This tutorial is dedicated to Amanda Levitzky and Domino Marama, who have given me all the hints i needed to eventually find the demonstrated workflow. read more … |
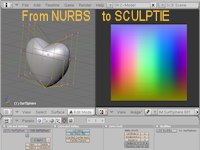 |
From NURBS to Sculptie ( 10-August-2008 ) abstract: The tutorial describes a reasonable way to convert NURBS surfaces to sculpted prims. We recommend that you install the sculptie import/export scripts from Domino Marama, but we also show a way to create sculpties with blender’s built in node editor and without any script usage read more … |
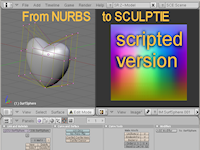 |
From NURBS to Sculptie ( 12-December-2008 ) abstract: This page describes the nurbs2sculptie script. I also have added a tutorial which shows the script in action: The simple way to convert NURBS surfaces to sculpted prims using the nurbs2sculptie script. You will need Domino Marama’s sculptie scripts installed as a prerequisite for the sculptie baking read more … |
Example building tutorials
This section is organized as “newest first”
 |
“Sculptify Objects” ( 14 -July -2010 ) abstract:In this tutorial I will create a screw using extrusion only. The finished model is turned into a sculpted Prim by use of the “sculptify objects” script. The tutorial covers any recent blender-version up to the currently recommended release 2.49b and Jass2. read more …
|
 |
“Modelling with Curves” ( 14-April-2010 ) abstract: In this tutorial I will introduce the curve-modifier and create a sculpted helix. The tutorial covers any recent blender-version up to the currently recommended release 2.49b and Jass2. read more …
|
 |
“Modelling with Outlines” ( 06-Januar-2010 ) abstract: We show you, how you can start with an empty mesh, draw an outline of an object and eventually create the full 3D-model. In the final step the object will be turned into a Sculptie using some primstar magic. read more …
|
 |
“Primstars” ( 20-December-2009 )abstract: The Tutorial explains, how to create a 5-pointed Primstar. 2 Possible solutions occur: Either make it using simple Prims (introducing twist and pathcut) or use a sculptmap (using a non power of 2 mesh).Please note, that this tutorial is somewhat different from the others as it tells a story of a builder who gets the order to make a star. The tutorial is embedded into the story … read more …
|
 |
“I-Beams” ( 7-September-2009 ) abstract: The Tutorial explains, how to create an LOD invariant I-Beam. read more … |
 |
“2 in 1” ( 14-August-2009 ) abstract: The tutorial describes how you can create multiple objects out of one single Sculpted prim. read more … |
 |
From Plane to Cube ( 25-Sept-2009 )abstract:Yet another tutorial about how to create a sculpty cube. This time i show, how you can successfully ignore all technical aspects of sculpties and yet achieve perfect crisp edges on a sculpty-cube. The shown technique is more than just of academic value. It can be used to create objects with more ease and it can create perfect texturizable sculpty surfaces … read more … |
 |
Cubes (25-Apr-2009)abstract:abstract: a bit of fresh air is necessary. Lets go and make another cube, but now we make it almost perfect. read more … |
 |
Cylinders (28-Apr-2009)abstract:Make a closed cylinder using subsurf and Crease…. read more … |
Your feedback helps to constantly improve our work.
So, Please tell us:
- what you are missing
- what we could do better.
Have fun.
