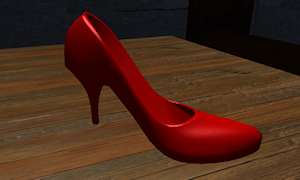
Light setup
|
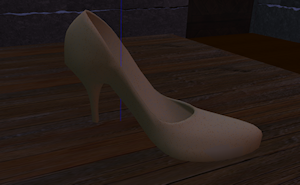
- Switch daytime to Midnight
- Ensure that no local ligths are enabled.
- Import the Model from Blender to your world
Note: The object appears very dark because we have no light in the scene yet, except the environment lighting which still exists with Midnight Light Setting. |
 Expert note: The model currently has no UV Map. Hence any attempt to add a texture to the object in your 3D world will just colorise the object with a unique color. Expert note: The model currently has no UV Map. Hence any attempt to add a texture to the object in your 3D world will just colorise the object with a unique color. |
Add Light & Color
|
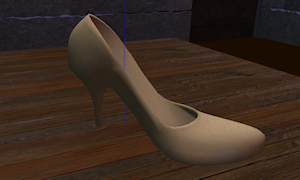
- Add a local light above the object. I reduced the light radius so that its energy is comparable to the Blender Spotlight.
|
 |
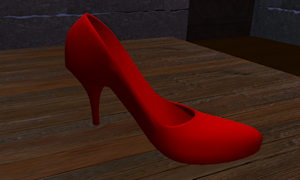
- Remove the default Plywood texture from the Object
- Set the color to your taste
|
 |
Add Specular reflection
|
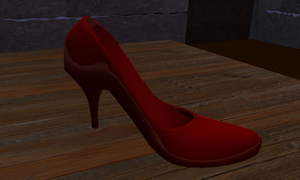
- As soon as we add Shininess the Object looks a bit weird and with increasing strength of Shininess the object gets darker.
Note that the specular reflection is dependent from the viewing angle and of course from the number of light sources. However it has become common practice to “bake highlights” into the object textures. The downside of this approach is:
Baked Highlights are static and may not fit to the light settings in your scene from every angle and at any time of the day.
|
 |
Since Viewer 2 we have an alternative:
- Go to the Preferences Window
- Proceed to the Graphics Tab
- Enable “Lighting&Shadows”
|
 |
