Example: weighting a Tank-Top |
|
|
Your next step is to get familiar with the various available weighting tools. I have prepared 2 examples to show you “weight painting in action”. I will use a simple tank top for both demos.
The first demo shows how to create a simple weightmap to control the influence of a modifier across the mesh. I recommend you first look at this demo, because it gives you a very easy insight into the weight tools. The secnd Demo is more challenging, because its topic is rather complex. In fact the tank-top straps bear a couple of unexpected problems. The demo shows the pitfalls and how to get over them. For the demos i expect that you have some basic experience with creating Avastar characters and how to setup and modify poses. |
The final result However you should also find this demo of value if you do not use Avastar. In that case you still can use the Avatar Workbench or any other rig as a replacement. |
Before you start |
|
|
You may want to take a quick look at the reference section at the end of this article to get an overview about what tools are currently available with Blender and with Avastar. You also may want to read about how topology and weighting are related to each other (in the next chapter). |
The initial .blend file is available for download from your Avastar download folder. You find it in the subfolder “demos/tanktop” (not yet available) helpful basic knowledge:
|
The Model |
|
|
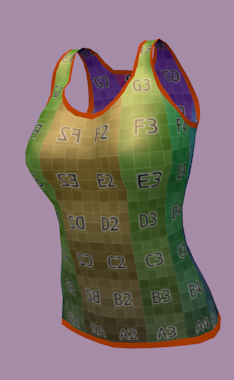
The model is a simple tank-top with no whistles and bells. In Demo I i will use a mirror Modifier with the “Merge” and “Clipping” options enabled. And i will add a shrinkwrap modifier together with a Weightmap (see next page) to make this model match perfectly to the Avastar character. Note: The tank-top is already almost in the right shape. But it is a bit wider than we want it to appear on the final character. The Shrinkwrap modifier will help us to adjust the model to the body. |
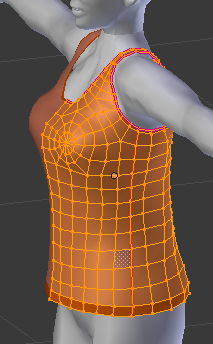
The undeformed mesh already looks “almost” right |
|
In Demo II we will aim for a perfect animation of the tank-top (taking special care of the straps) and we will see how keeping the shrinkwrap modifier on the model can help to create meshes for different body shapes “on the fly”. Now take your choice (i recommend you inspect both Demos in the given order): |
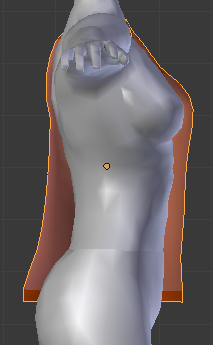
The undeformed tank-top in sideview |